003 Deploying a static website made with Zola to Netlify
Deploying My Website with Netlify
For my personal website, peterverheijen.nl, I originally used Hugo, a static site generator built with Go. I hosted the site using an S3 bucket on Azure, with a convenient VS Code extension that allowed me to upload files to the bucket and configure the URL to serve the website directly from there.
This time around, I wanted to explore other popular deployment platforms, specifically Netlify and Vercel. However, after reading this this discussion, I discovered some ongoing issues with Vercel. As a result, I decided to give Netlify a try instead.
Getting Started with Netlify
Setting up a Netlify account is simple. You can sign up via this link. Since my code is hosted on GitHub, I used GitHub for OAuth authentication to streamline the process.
Once logged in, you can create a new site by selecting “Add New Site” in the admin console. If your project already exists on GitHub, it’s easiest to import the repository directly.
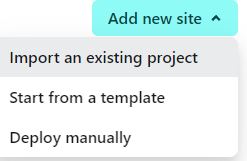
If you already have your repository set up, I’d suggest importing an existing one.
Configuring Netlify
To tell Netlify how to build and deploy your project, I recommend adding a netlify.toml file to the root of your project. Here’s an example of my setup for a Zola theme:
[build]
command = "yarn install --frozen-lockfile && yarn build && zola build"
publish = "public"

[build.environment]
ZOLA_VERSION = "0.19.2"

[context.production.environment]
ZOLA_BASE_URL = "https://pythontorust.netlify.app/"
In this setup, I’m using Tailwind CSS and PostCSS, which require the CSS to be built before the site itself. Here’s the build process:
yarn install --frozen-lockfile
yarn build
Once that’s done, you can run:
zola build
This ensures that the generated CSS file is placed in the public folder, along with the rest of the website files. These are the files that will be deployed.
Automating Deployment with Netlify
By connecting your GitHub repository to Netlify, any pull request (PR) to the main branch triggers a preview build. Once changes are merged or pushed to the main branch, the site is automatically rebuilt and redeployed.
Initially, your website will be deployed to a default URL provided by Netlify: https://[website-name].netlify.app/.
Acquiring a new Domain
For this blog, I purchased the domain pythontorust.nl through Antagonist. If you’re reading this, you’re likely already on the custom domain!
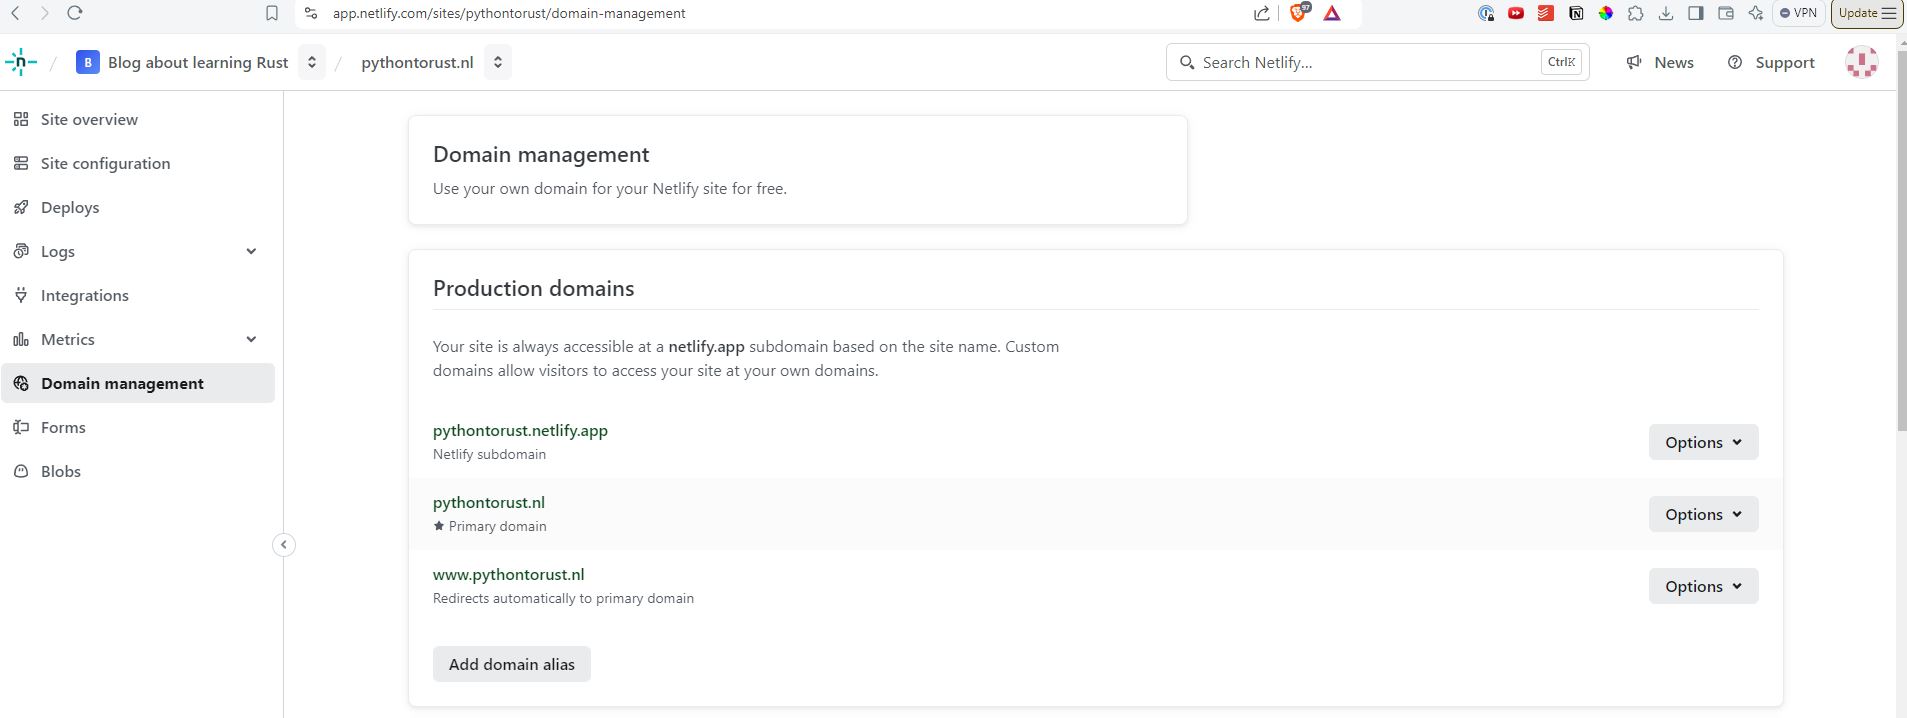
Setting Up Domain Alias
Netlify allows you to manage custom domains directly from their platform. By default, your site will be available at something like pythontorust.netlify.app. However, I’m using www.pythontorust.nl and pythontorust.nl as my primary URLs (with the latter as the main one).
Configuring A-Records for Netlify
To point my custom domain to Netlify, I followed their documentation to configure the A-records with my domain registrar (Antagonist). If you encounter issues, feel free to reach out to me for help.
It can take a little time for Netlify to detect the DNS changes—this delay is based on your domain’s TTL (Time-to-Live). Once the changes propagate and the A-record is correctly set, your custom domain will point to Netlify’s servers (IP: 75.2.60.5). From there, Netlify will handle deploying your site to both your custom domain and the default Netlify subdomain.

Join the Journey Ahead!
If you're eager to continue this learning journey and stay updated with the latest insights, consider subscribing. By joining our mailing list, you'll receive notifications about new articles, tips, and resources to help you seamlessly pick up Rust by leveraging your Python skills.